

A Guide to Conjugate Planes and Köhler Illumination
If you’ve ever looked through a microscope and struggled with uneven lighting, glare, or a blurry image, you aren’t alone. Many professionals use microscopes daily without fully understanding the optical principles that govern them.
Two concepts are fundamental to achieving high-quality imaging: Conjugate Planes and Köhler Illumination. Understanding these is the difference between a “good enough” image and a publication-quality photomicrograph.
What Are Conjugate Planes?
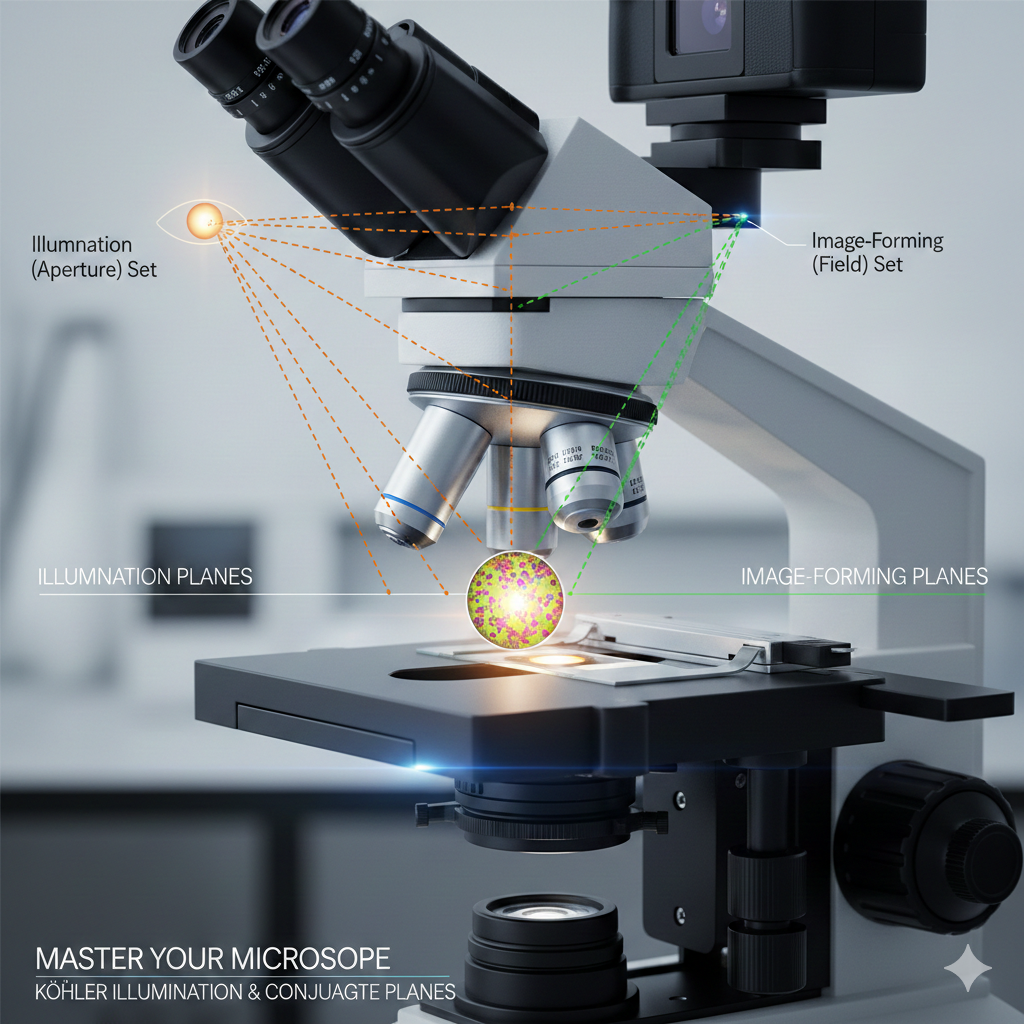
In geometric optics, “conjugate” refers to points, lines, or planes that are optically linked: an object in one plane corresponds to an image in another. In a microscope, these planes are simultaneously in focus.
There are two distinct sets of conjugate planes that coexist in a microscope:
1. The Illumination (Aperture) Set
These planes control the quality of the light—its intensity and resolution. They include:
- The light source filament.
- The condenser aperture diaphragm.
- The back focal plane of the objective.
- The exit pupil of the microscope (Ramsden disk), which is where your eye is placed.
2. The Image-Forming (Field) Set
These are the planes where the actual image of your specimen is formed. They include:
- The field diaphragm.
- The specimen on the slide.
- The intermediate image plane (at the eyepiece diaphragm).
- The retina of your eye or the camera sensor.
Pro Tip: If you see dust or a hair perfectly in focus with your specimen, the debris is likely on one of the planes in the field set (like the slide or the eyepiece).
Why Köhler Illumination Matters
Developed in 1893 by August Köhler, this technique revolutionized microscopy. Before Köhler, “critical illumination” often resulted in an uneven image where the light bulb’s filament was visible alongside the specimen.
Köhler Illumination solves this by ensuring the light source is perfectly out of focus at the specimen plane, providing a bright, uniform, and glare-free field of view.
Benefits of Correct Köhler Setup:
- Uniform Illumination: No “hot spots” or shadows.
- Maximum Resolution: Matches the numerical aperture of the condenser to the objective.
- Contrast Control: Allows you to fine-tune the balance between detail and contrast using the aperture diaphragm.
How to Set Up Köhler Illumination (Step-by-Step)
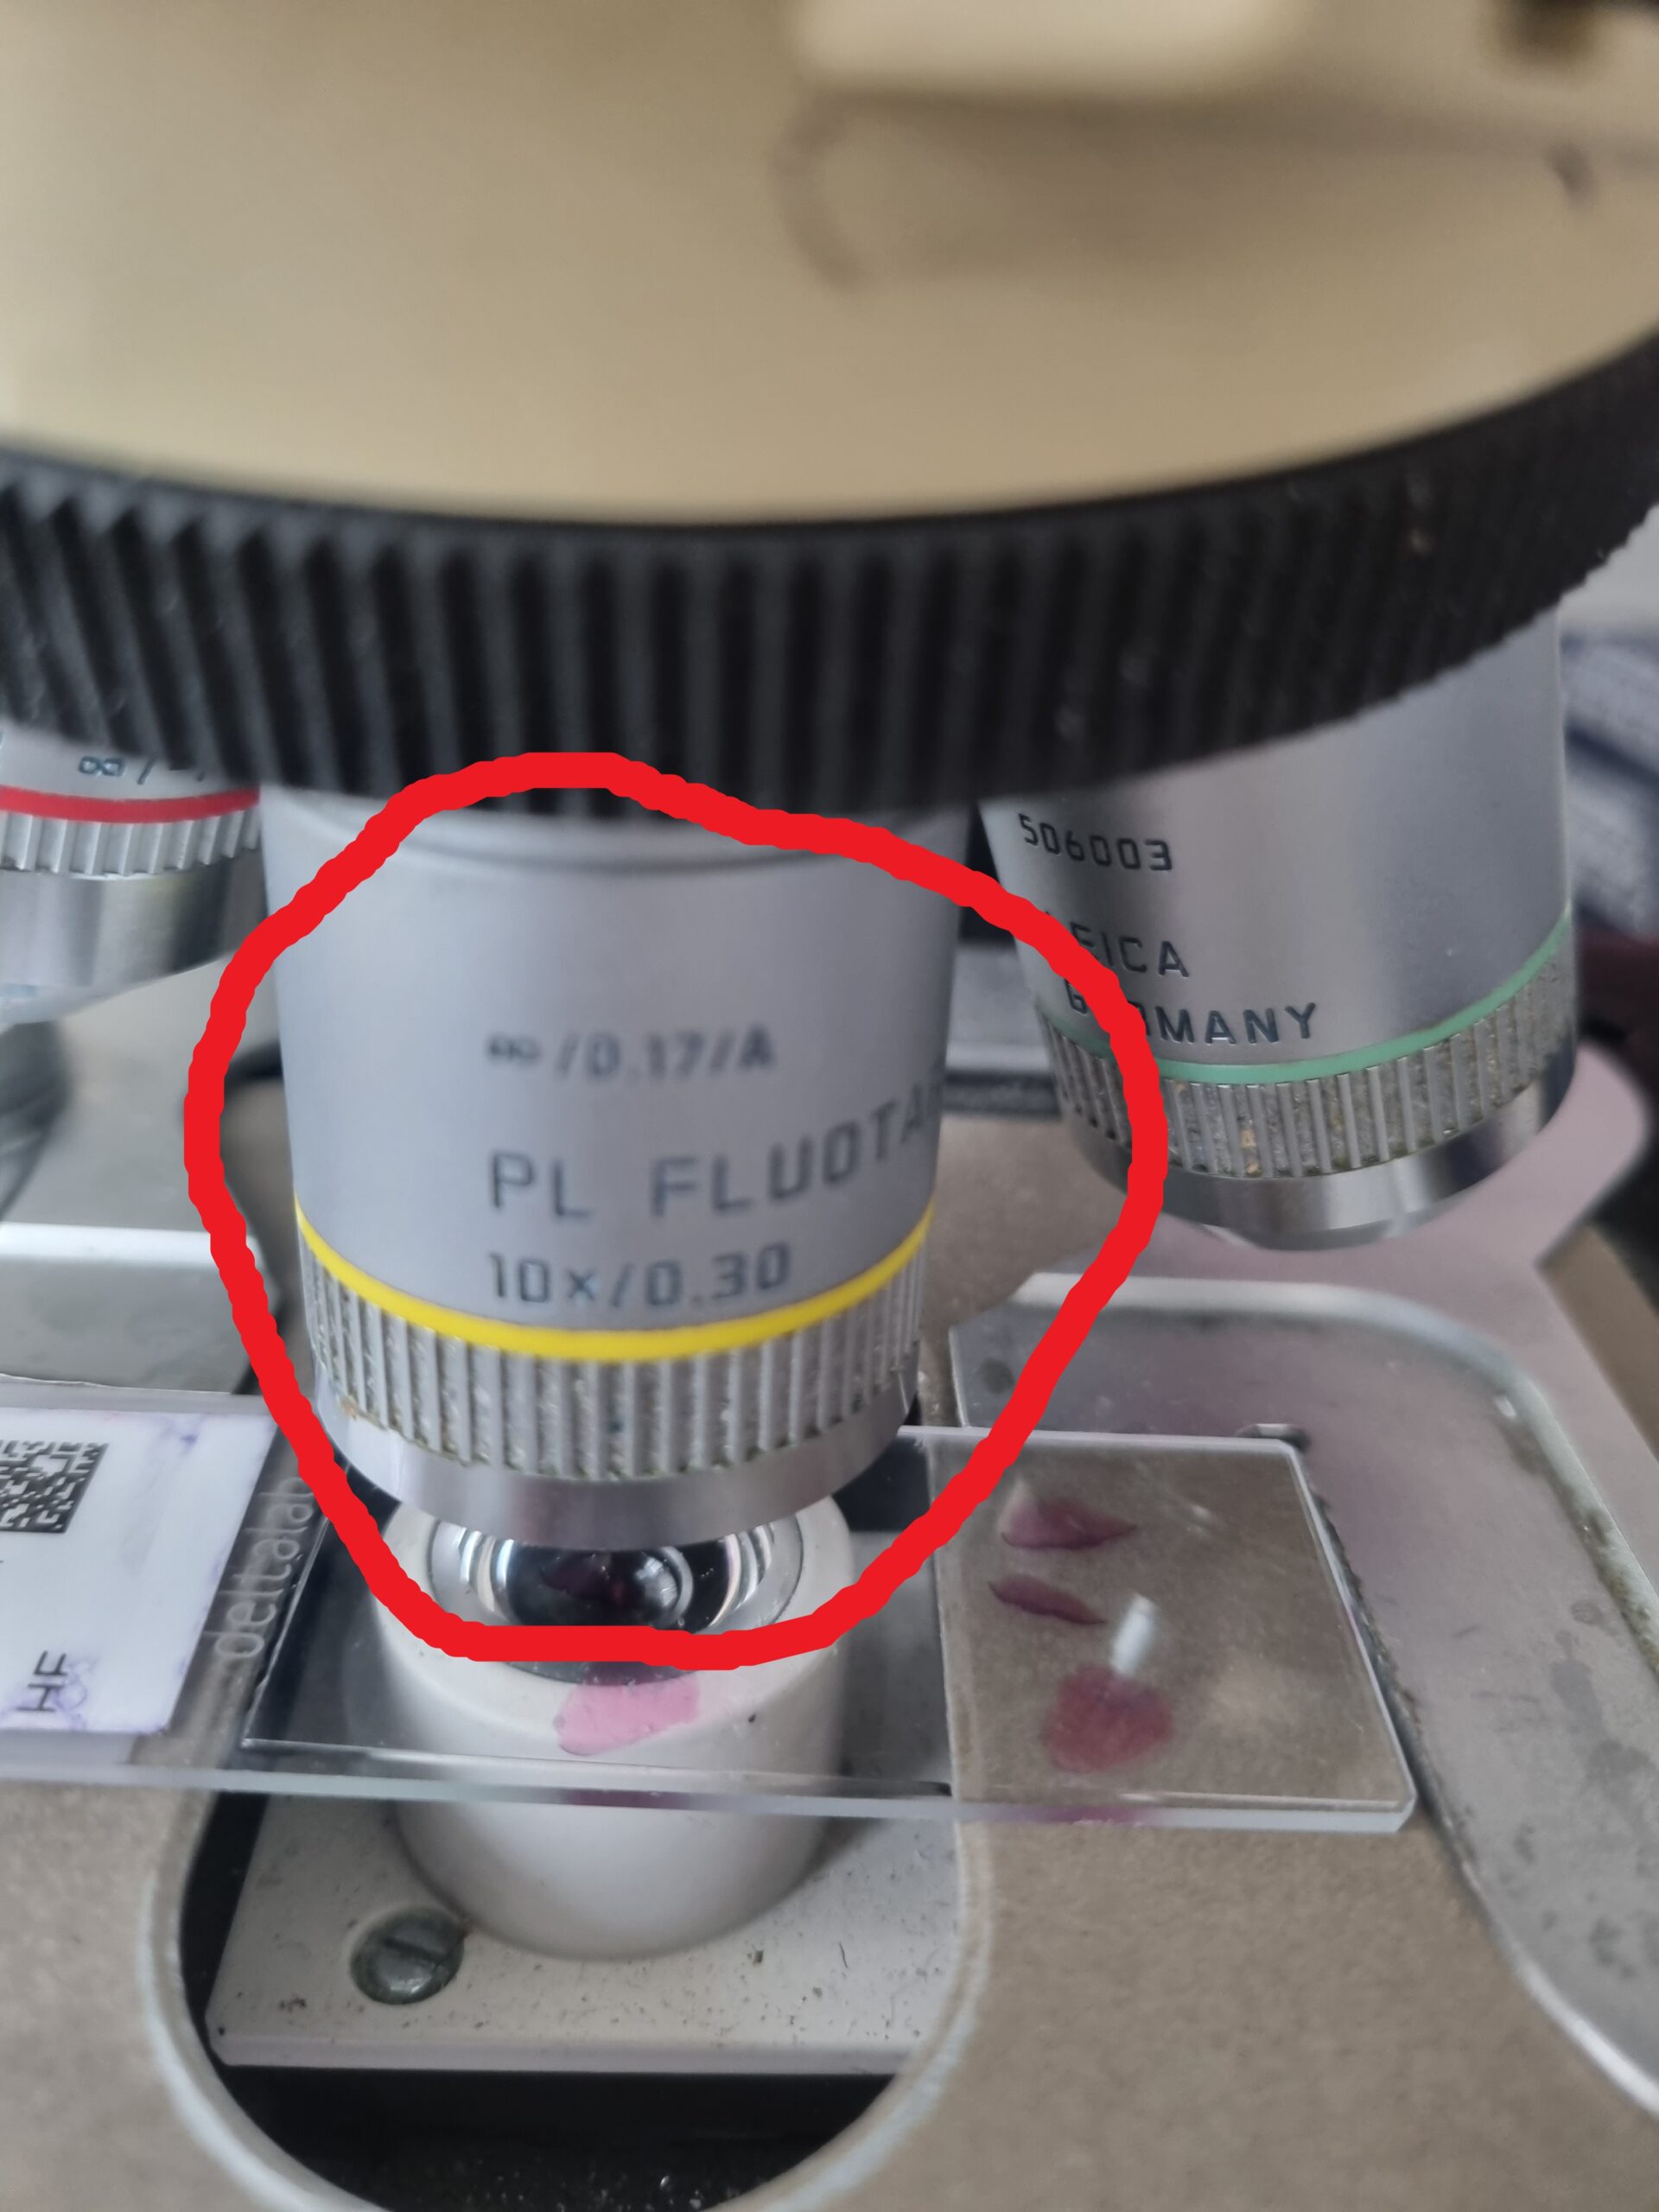
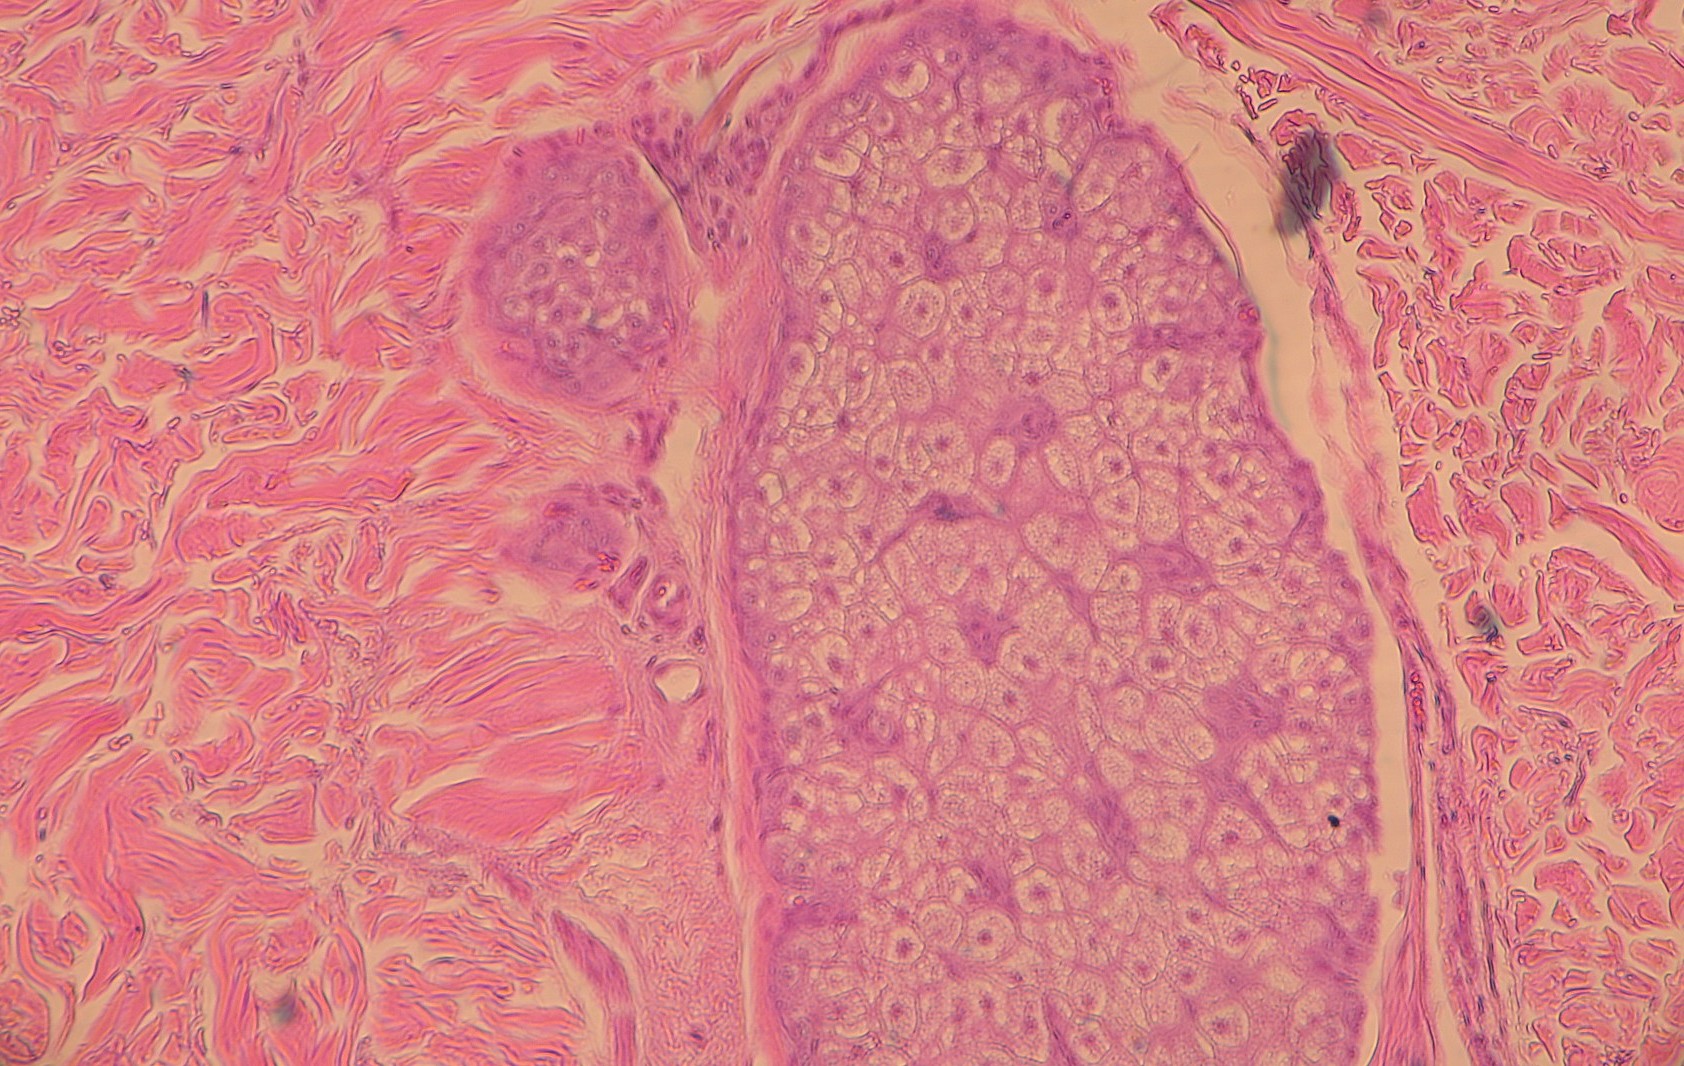
- Focus your specimen: Use a 10x objective and focus normally.
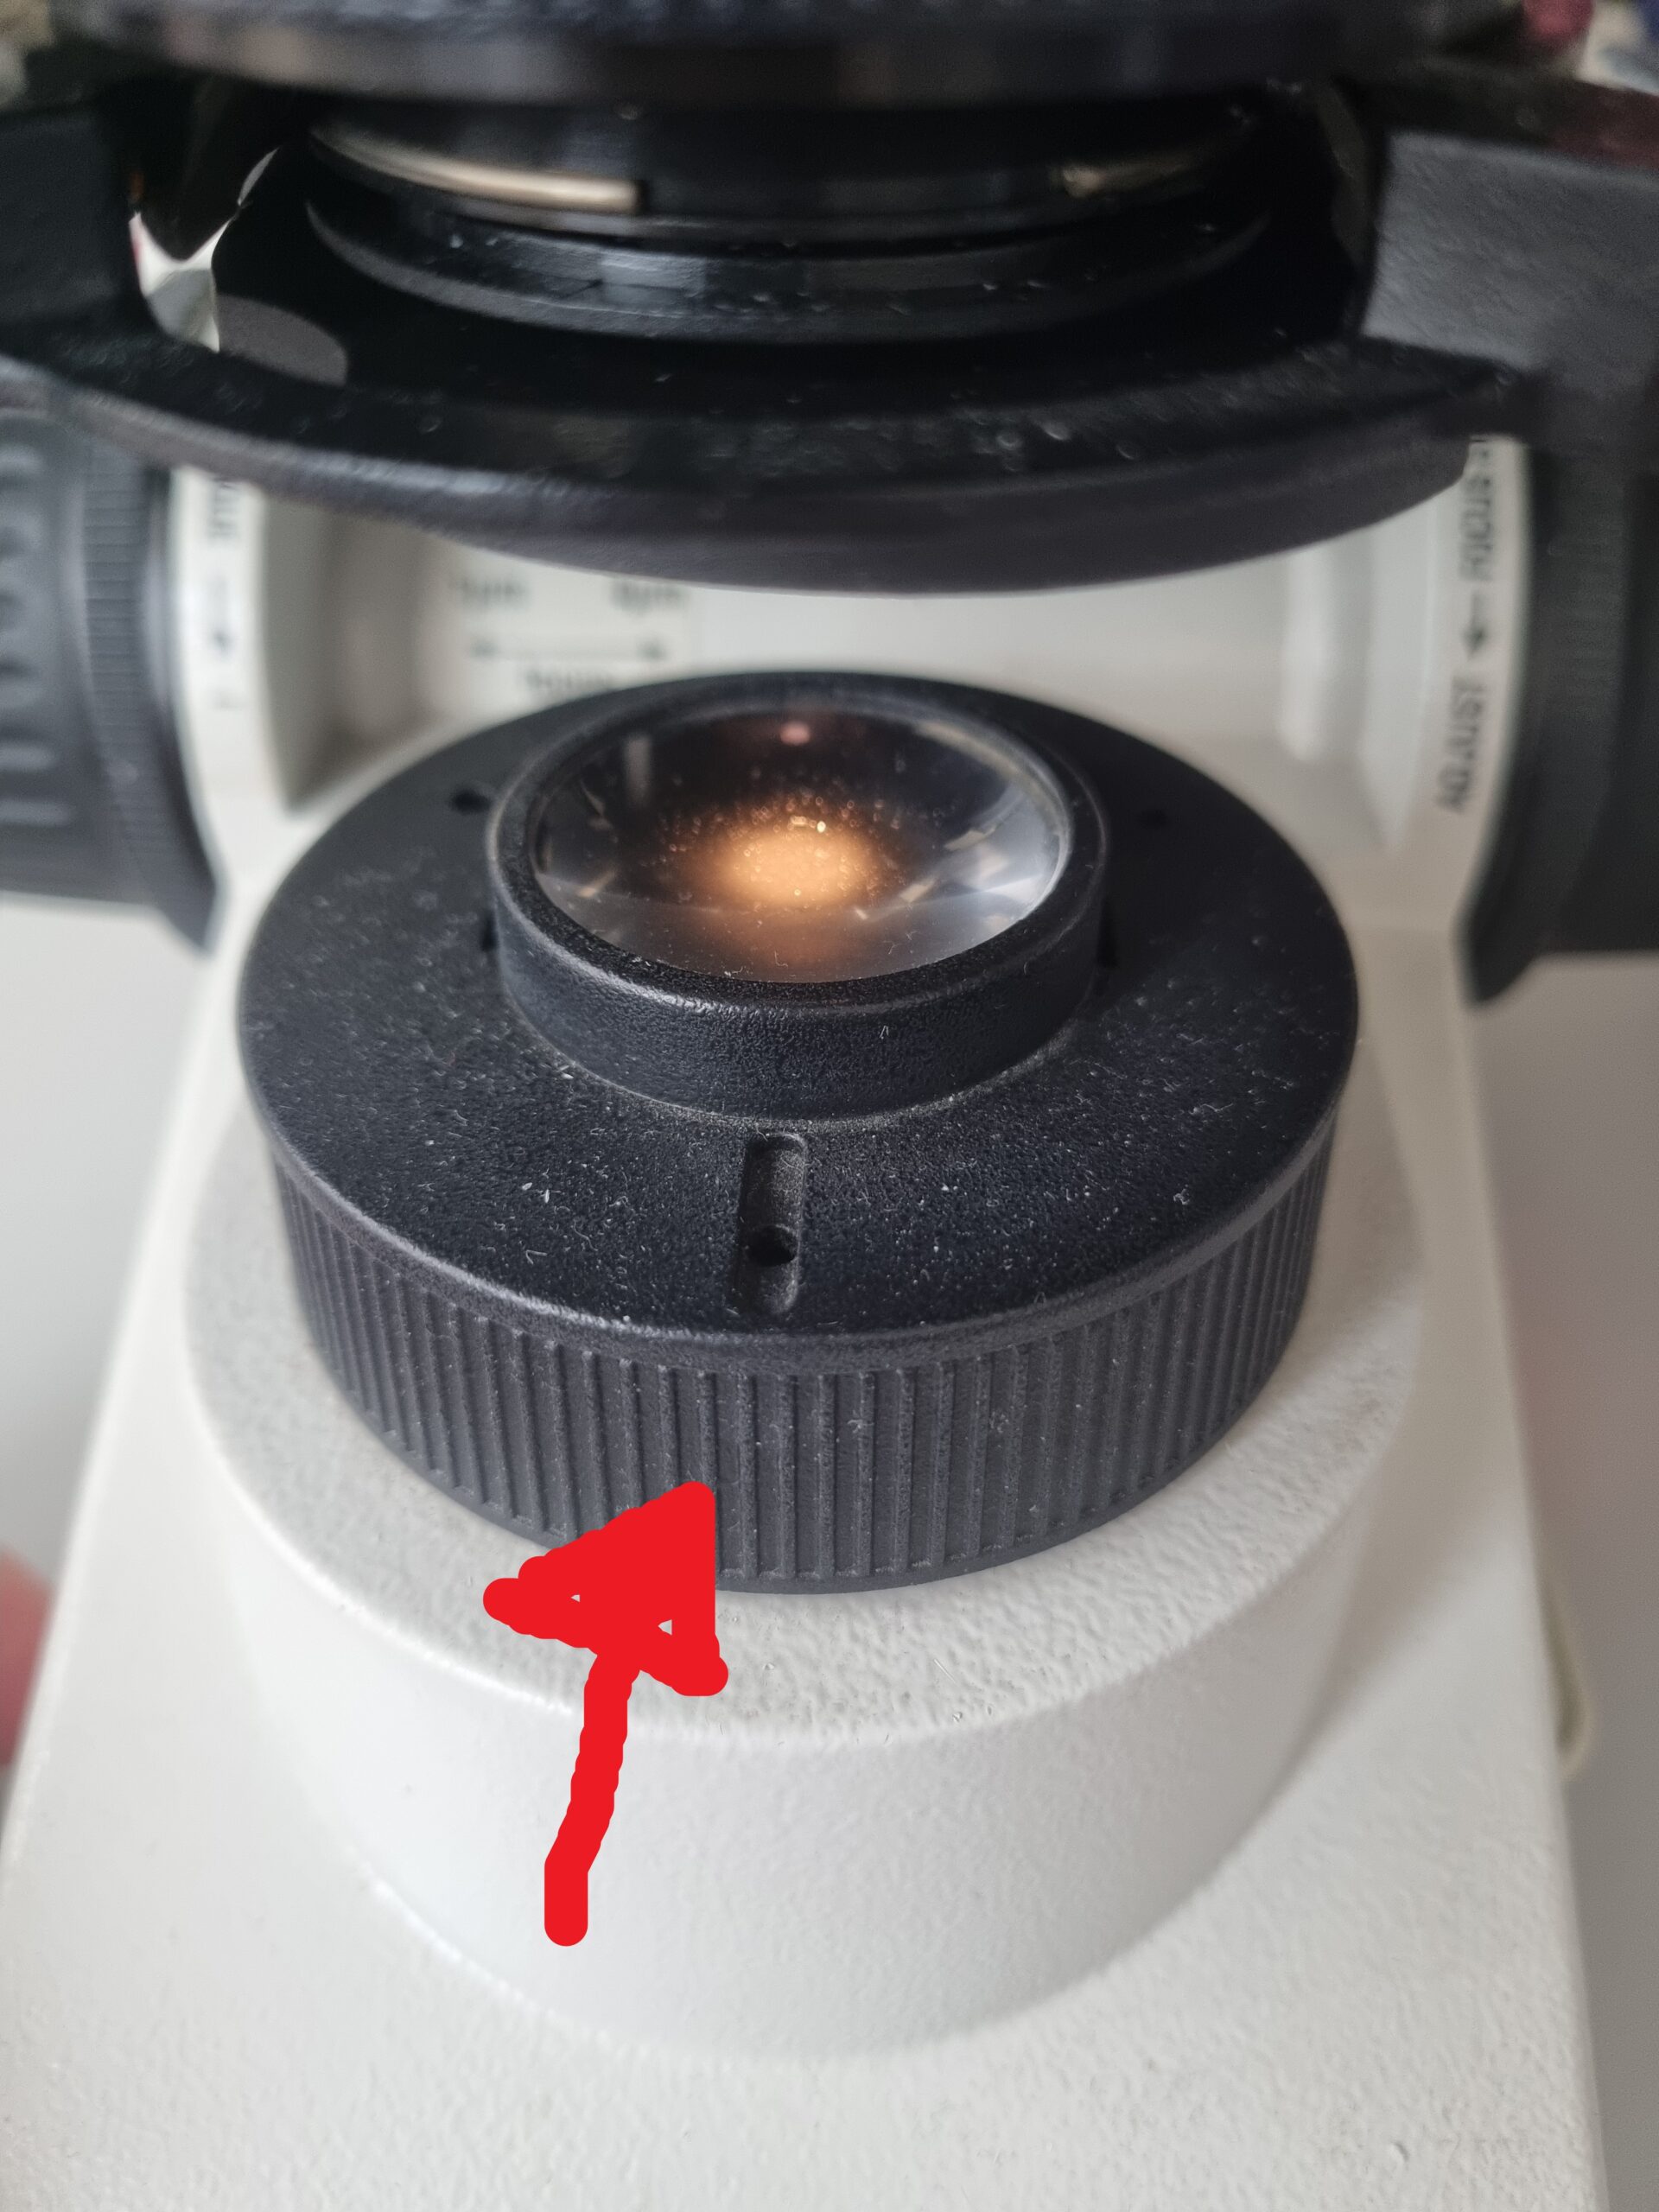
- Close the field diaphragm: You will see a small, dark circle (or polygon) of light.
- Focus the condenser: Move the condenser up or down until the edges of the field diaphragm are sharp and crisp.
- Center the diaphragm: Use the condenser centering screws to move the circle of light to the exact center of your view.
- Open the diaphragm: Open it just enough so that it disappears from the field of view.
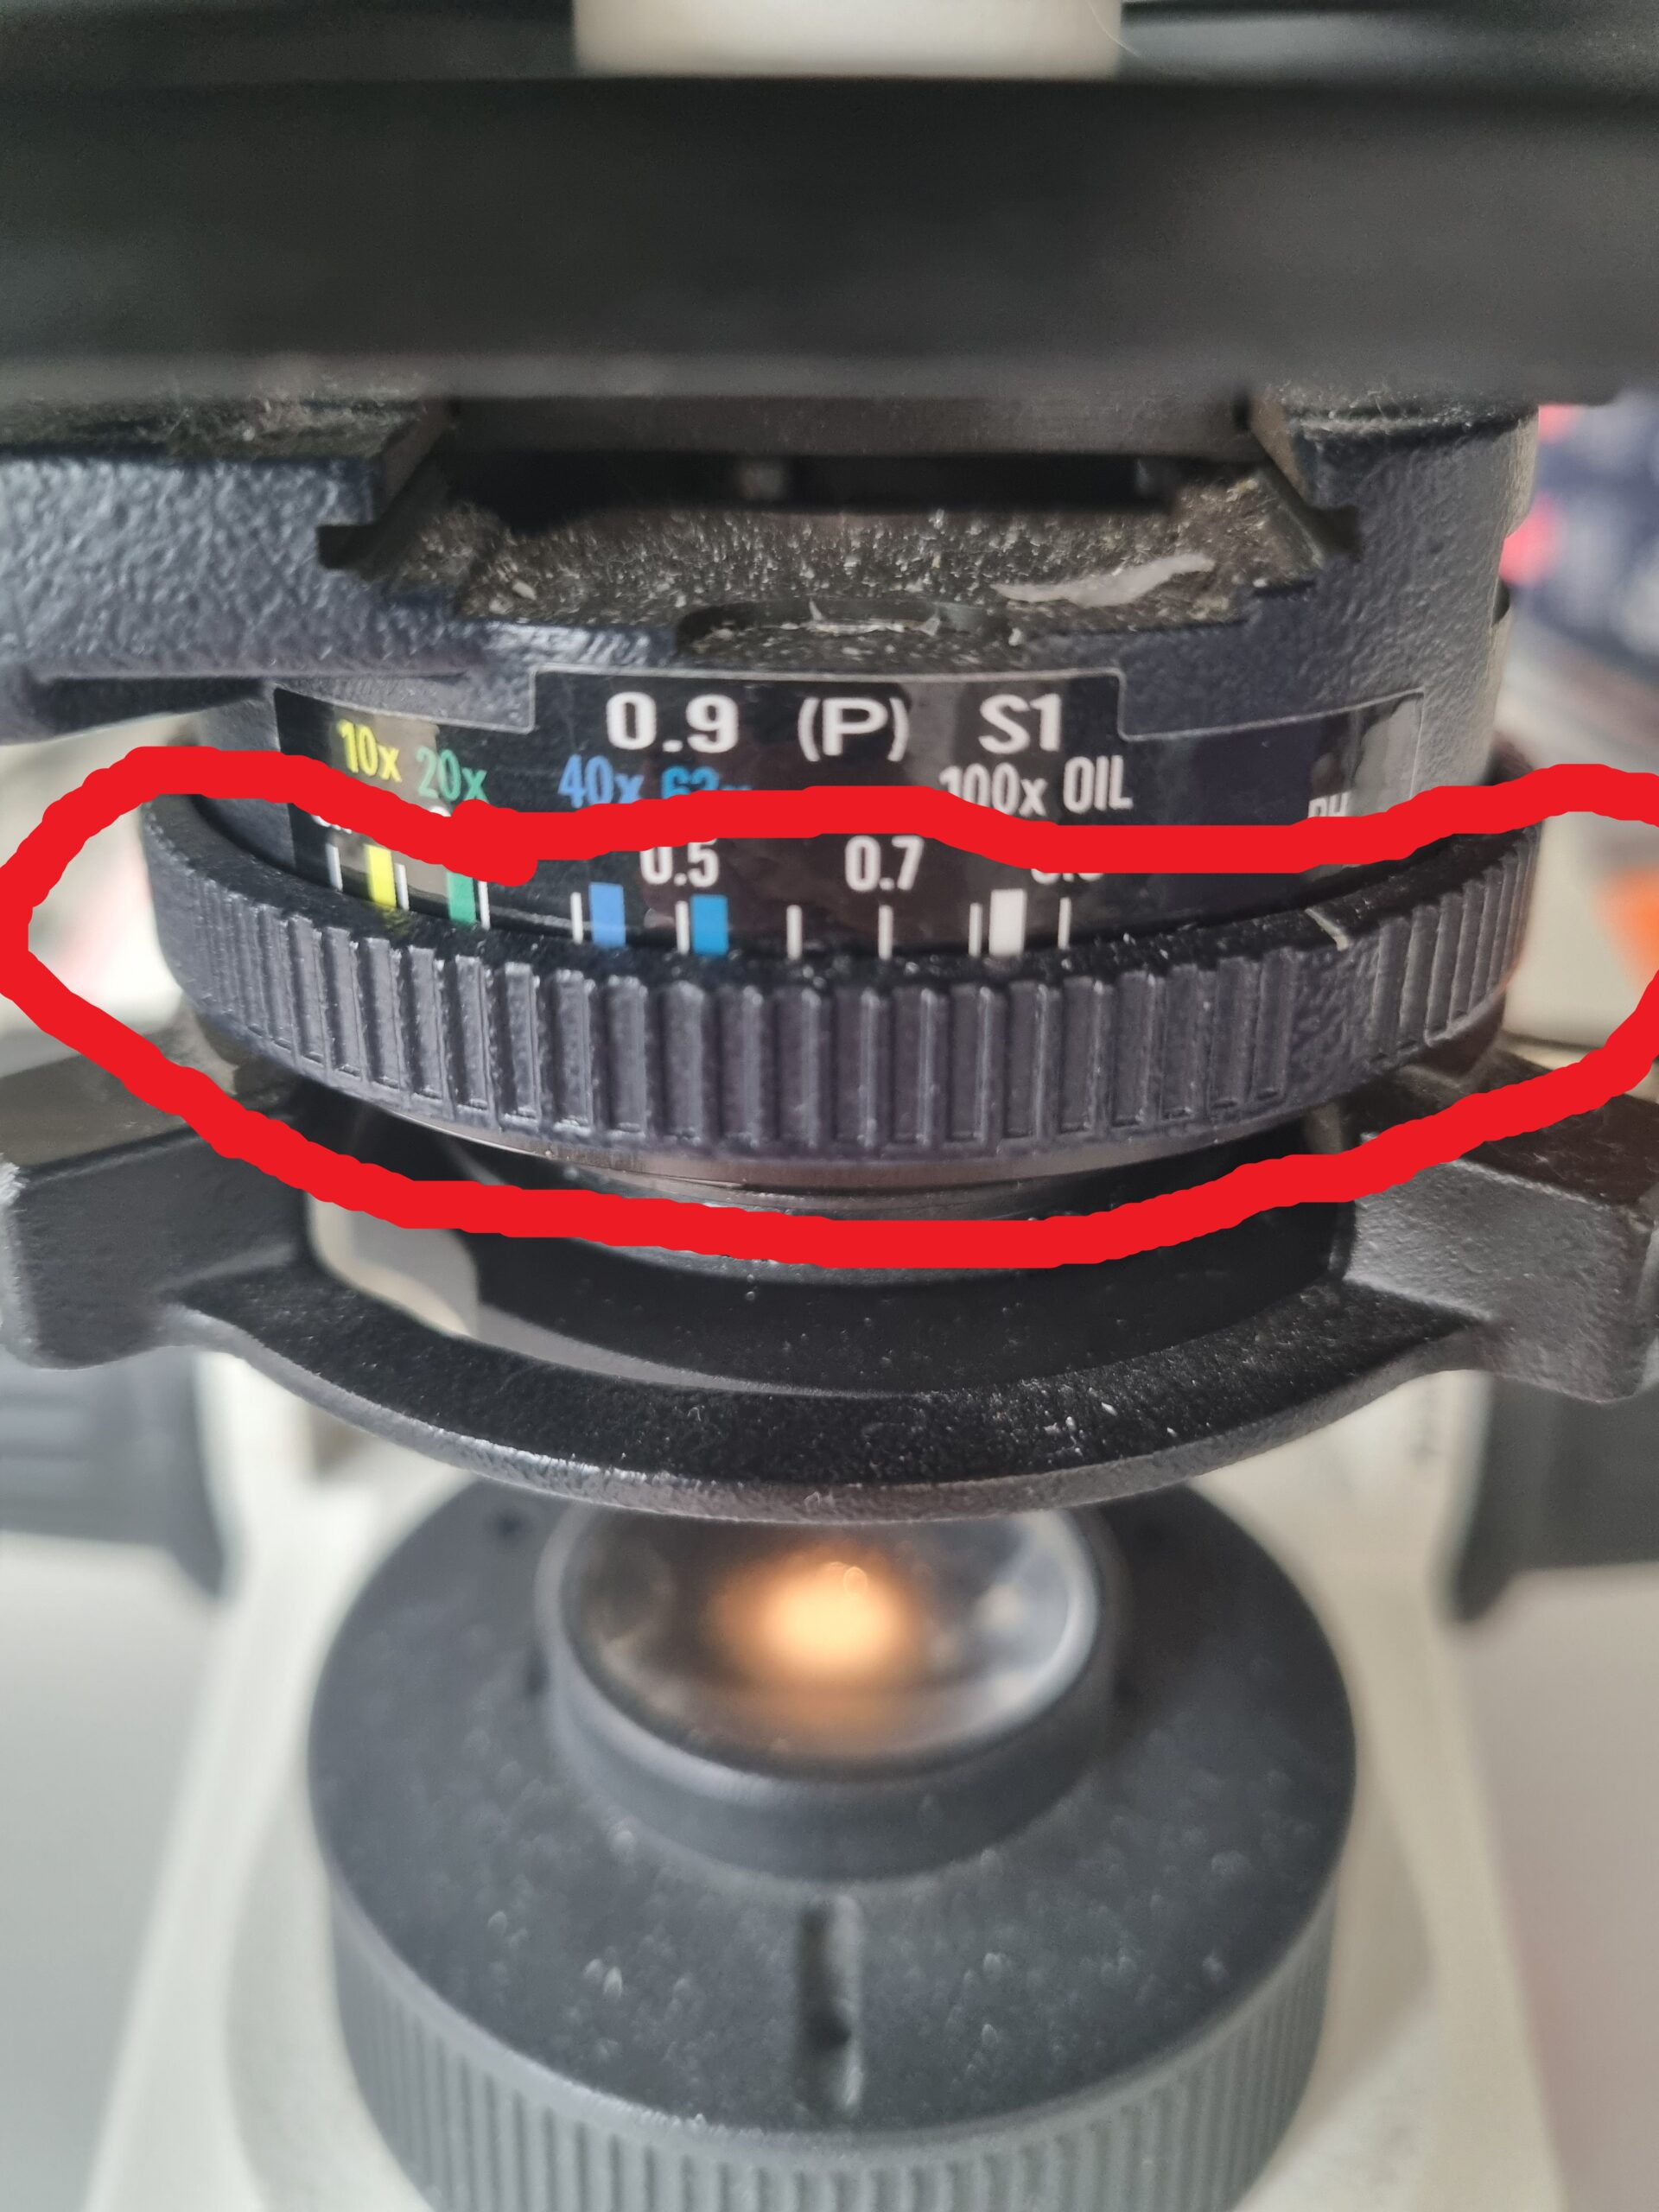
- Adjust the aperture: This is the most common mistake. Remove an eyepiece and look down the tube. Adjust the condenser’s aperture diaphragm until it occupies about 70-80% of the back focal plane.
1. Focus your specimen
2. Close the field diaphragm
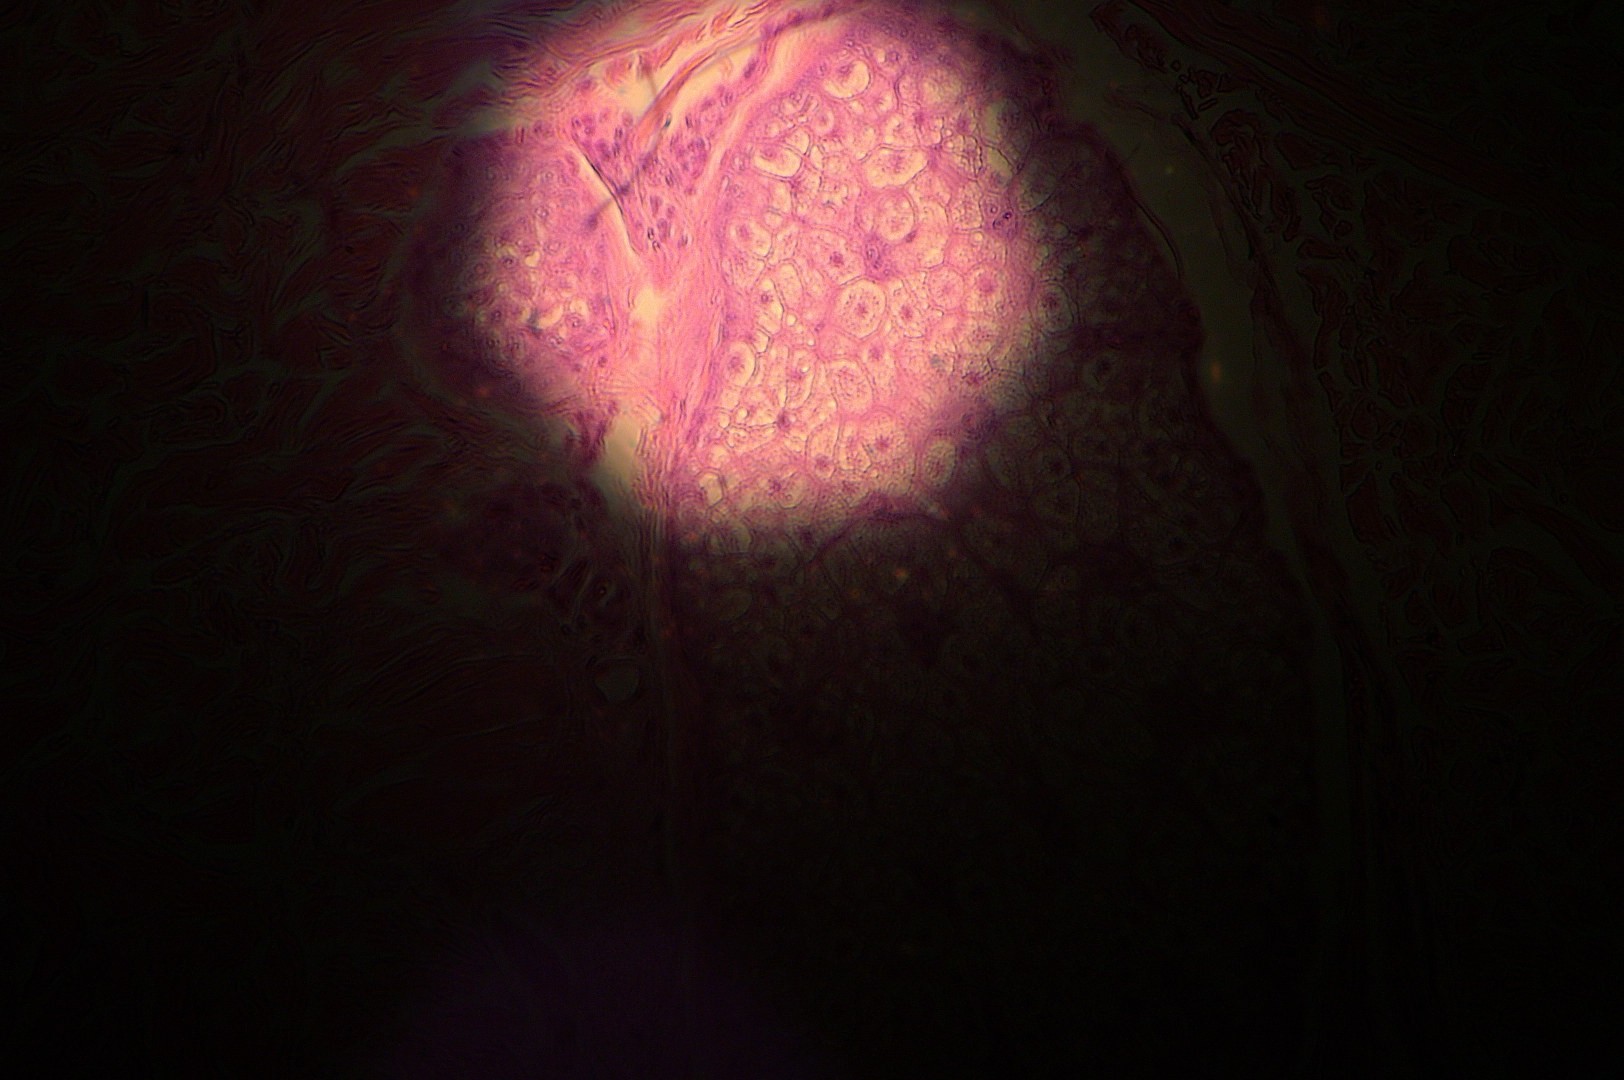
3. Focus de condenser
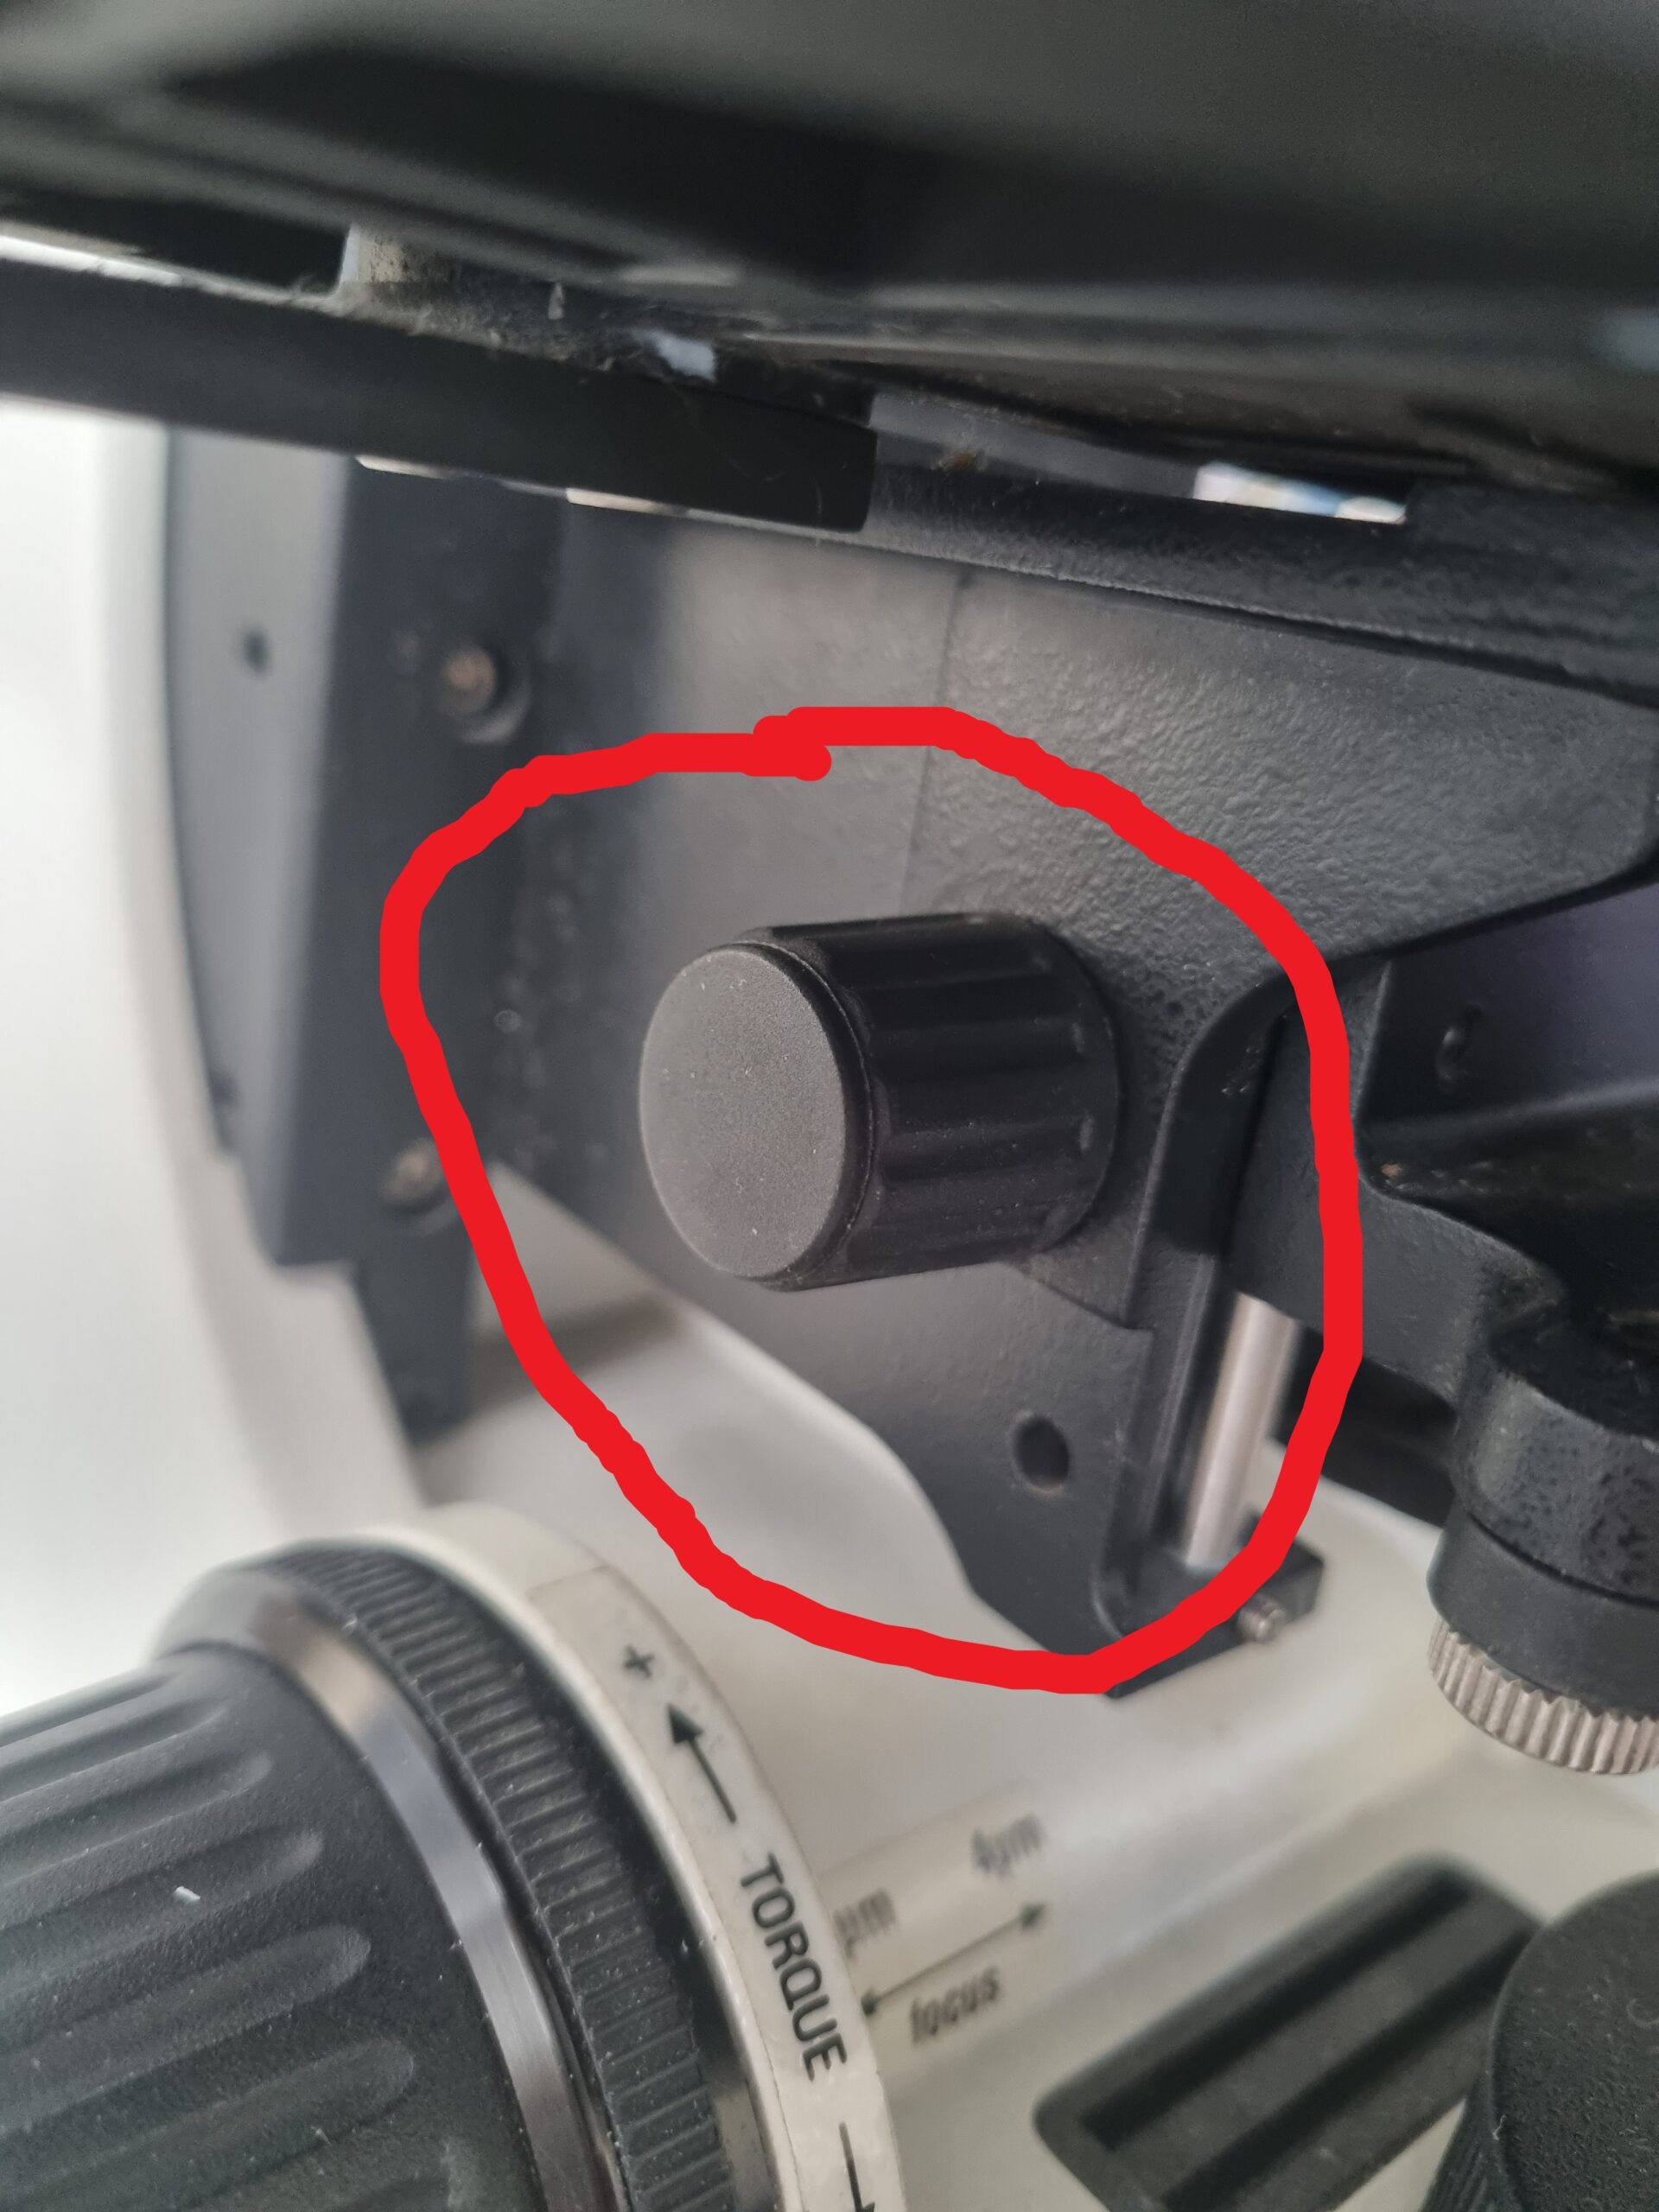
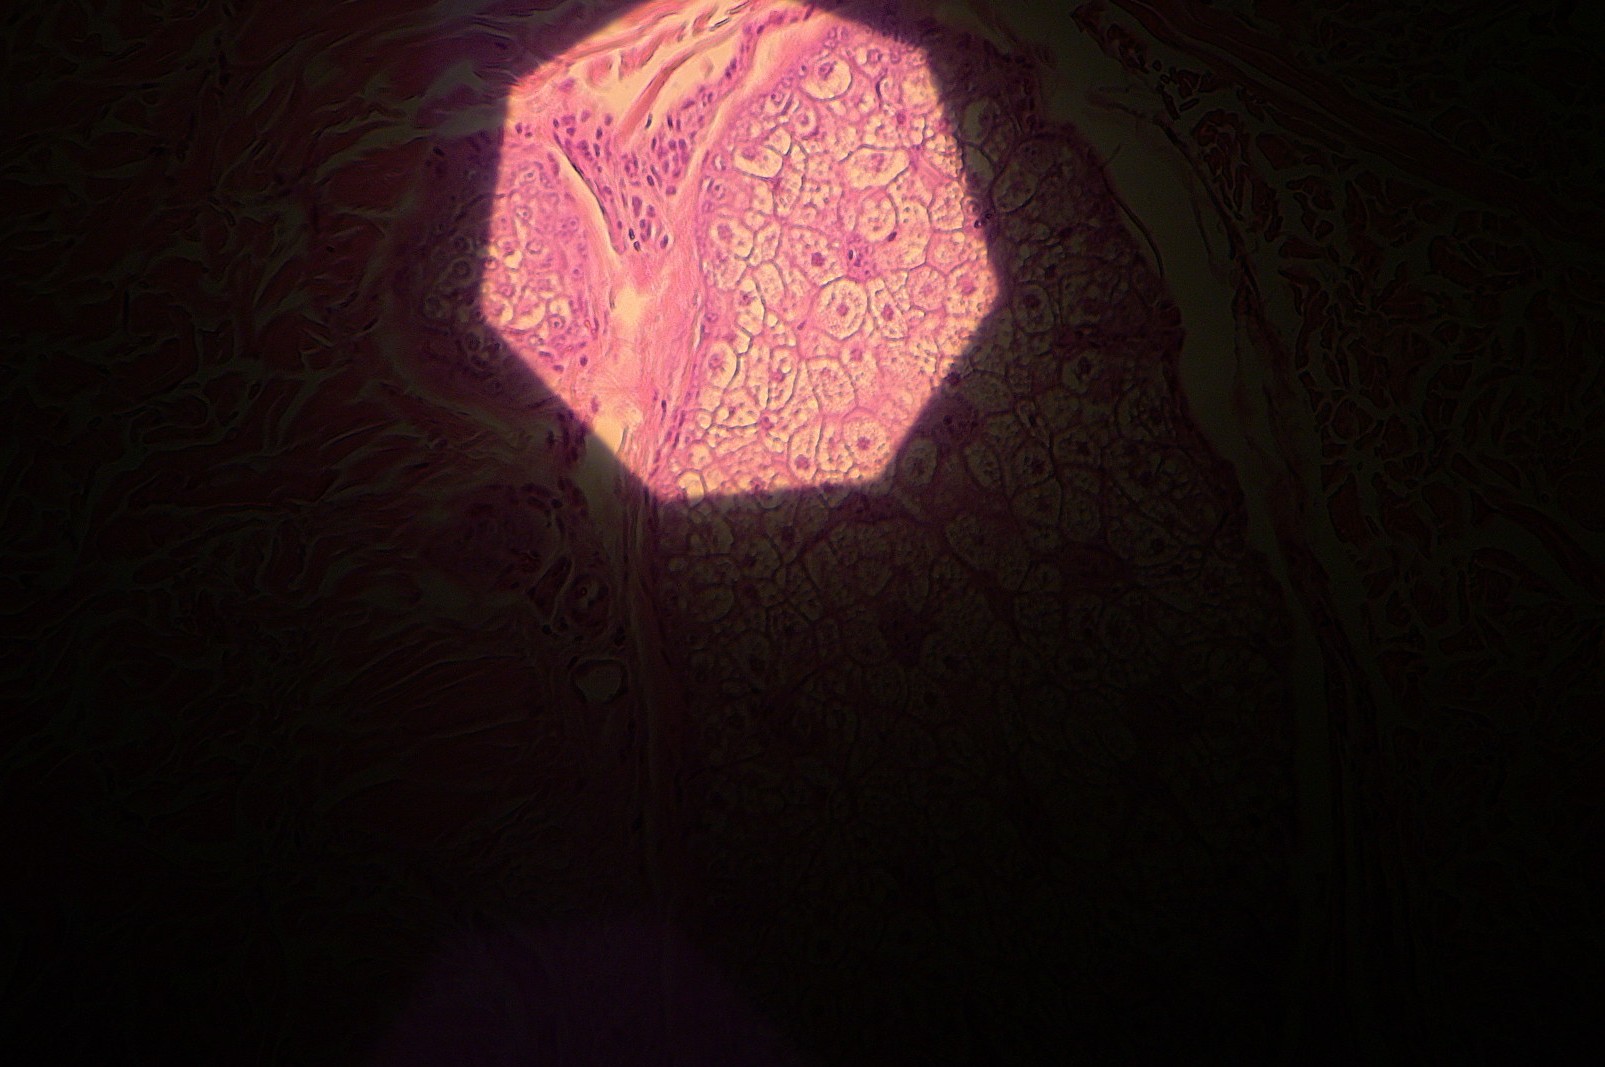
4. Center the diaphragm
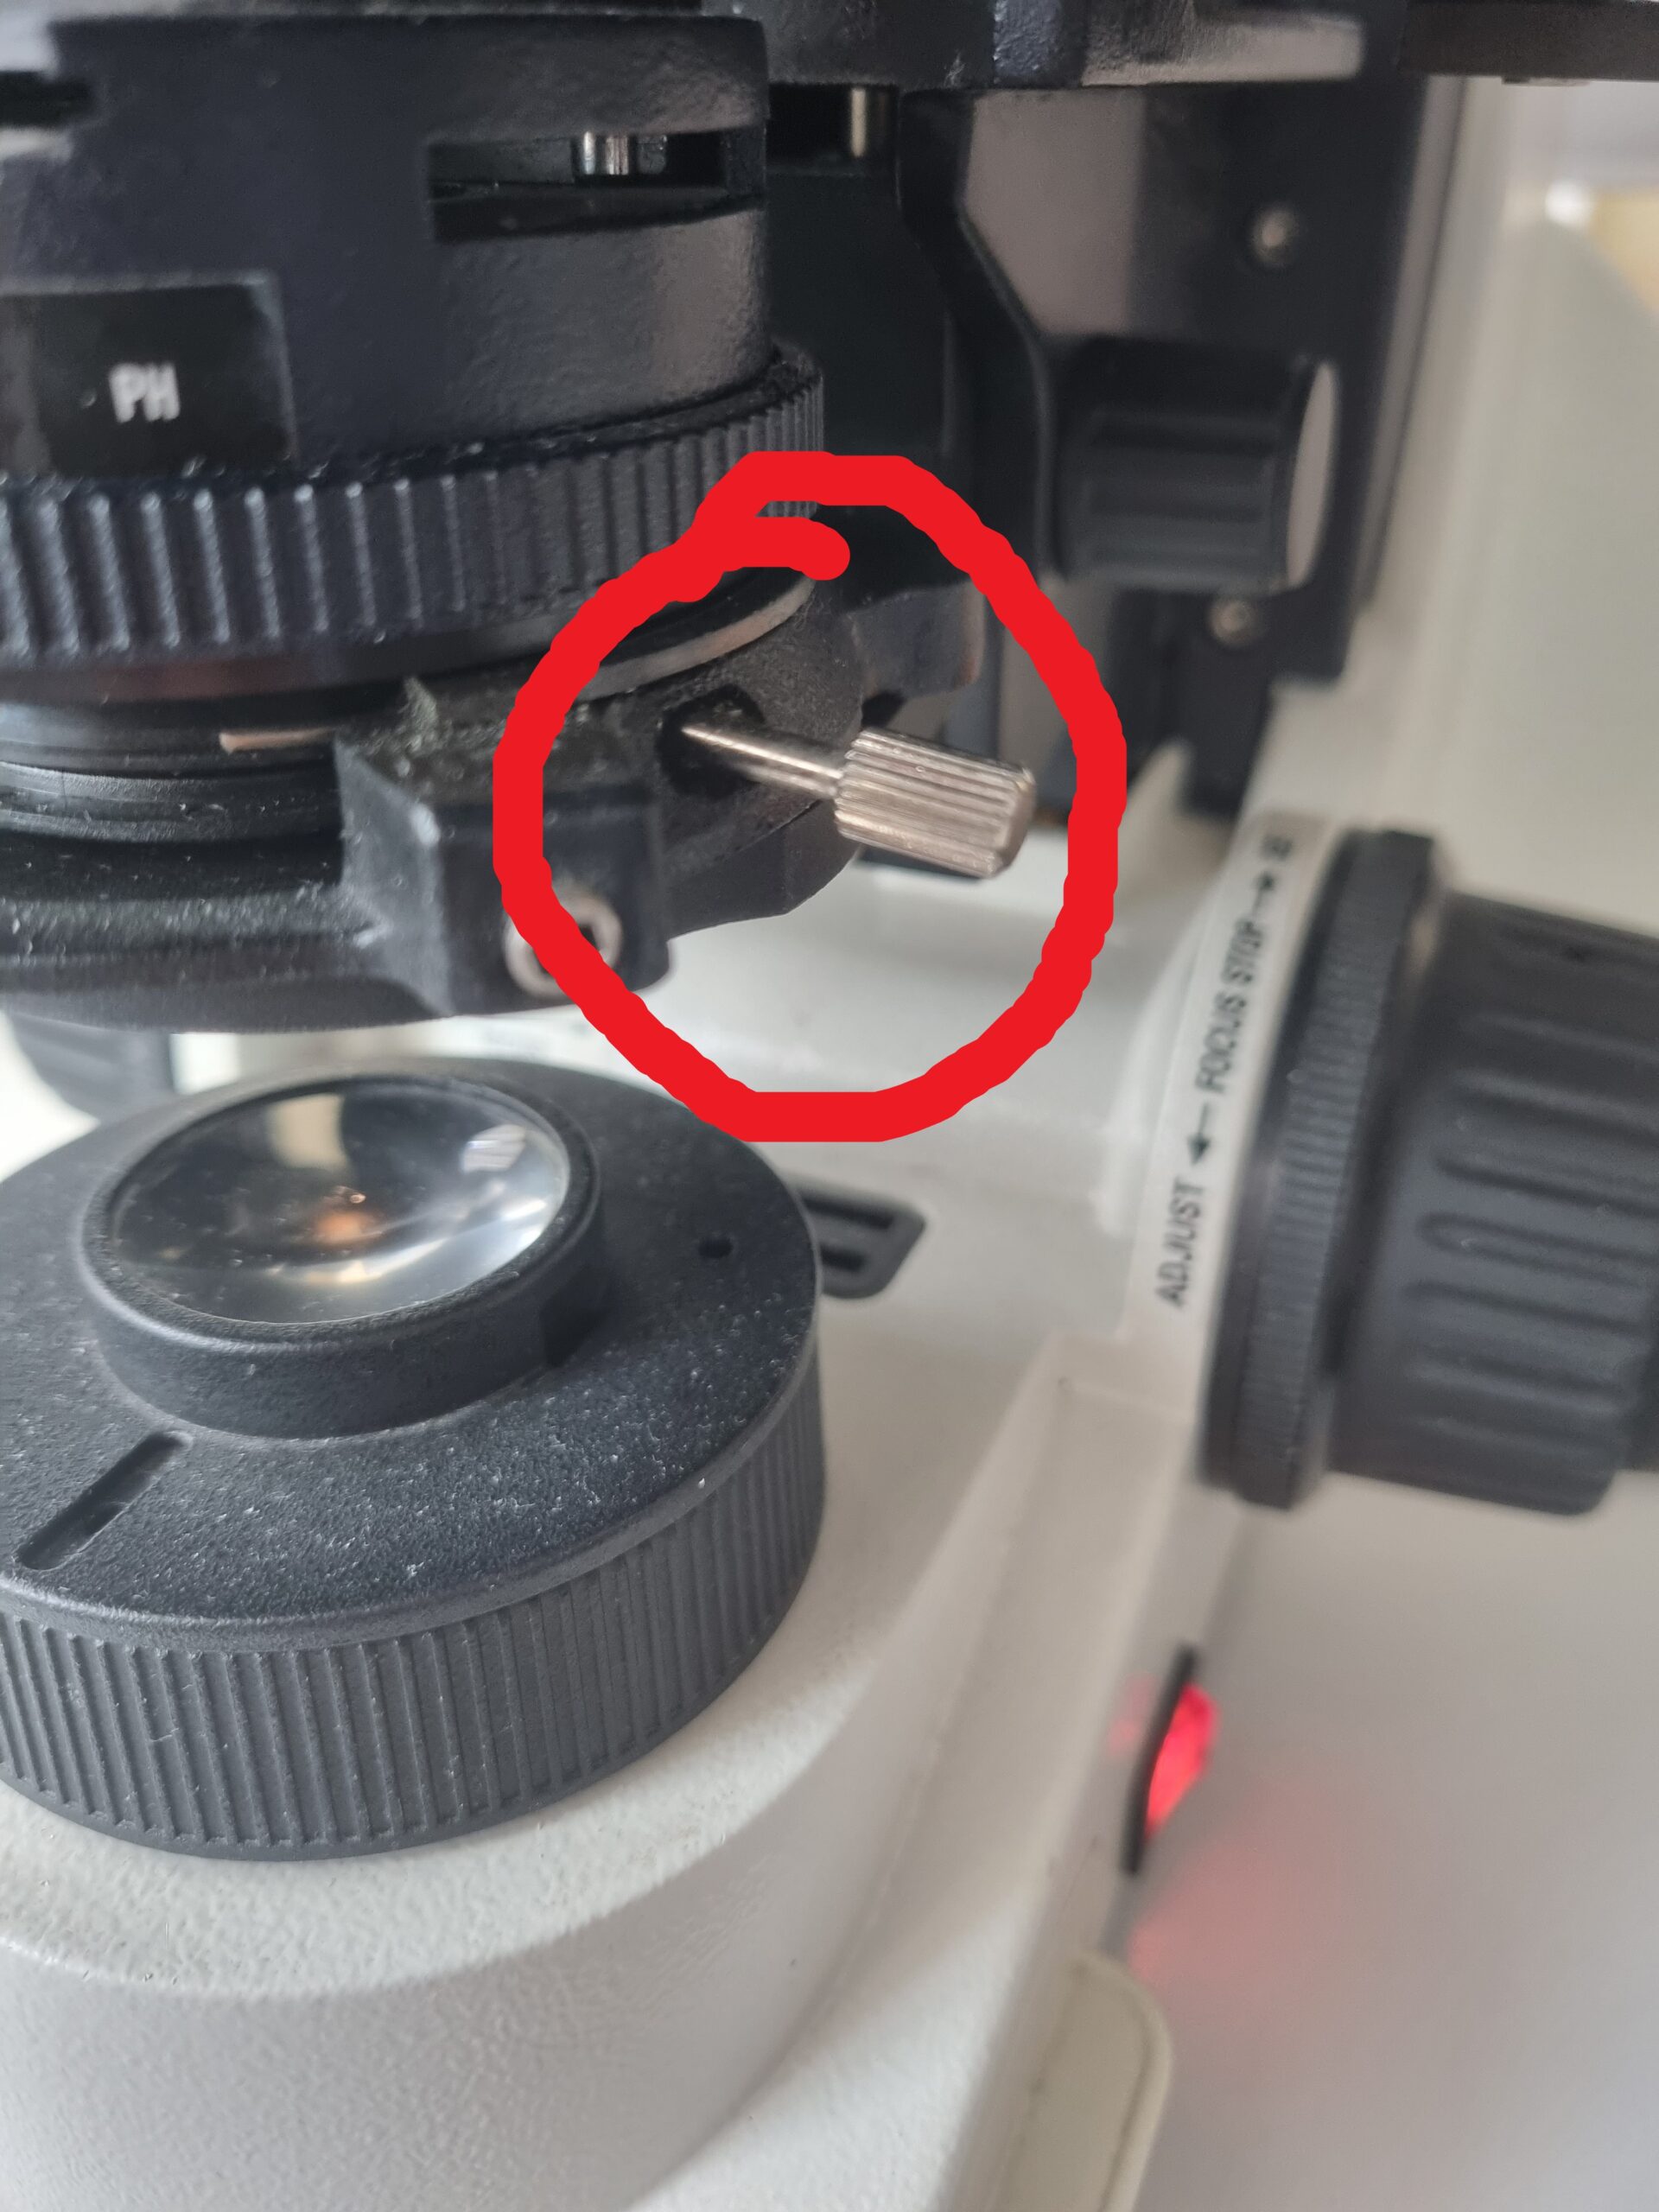
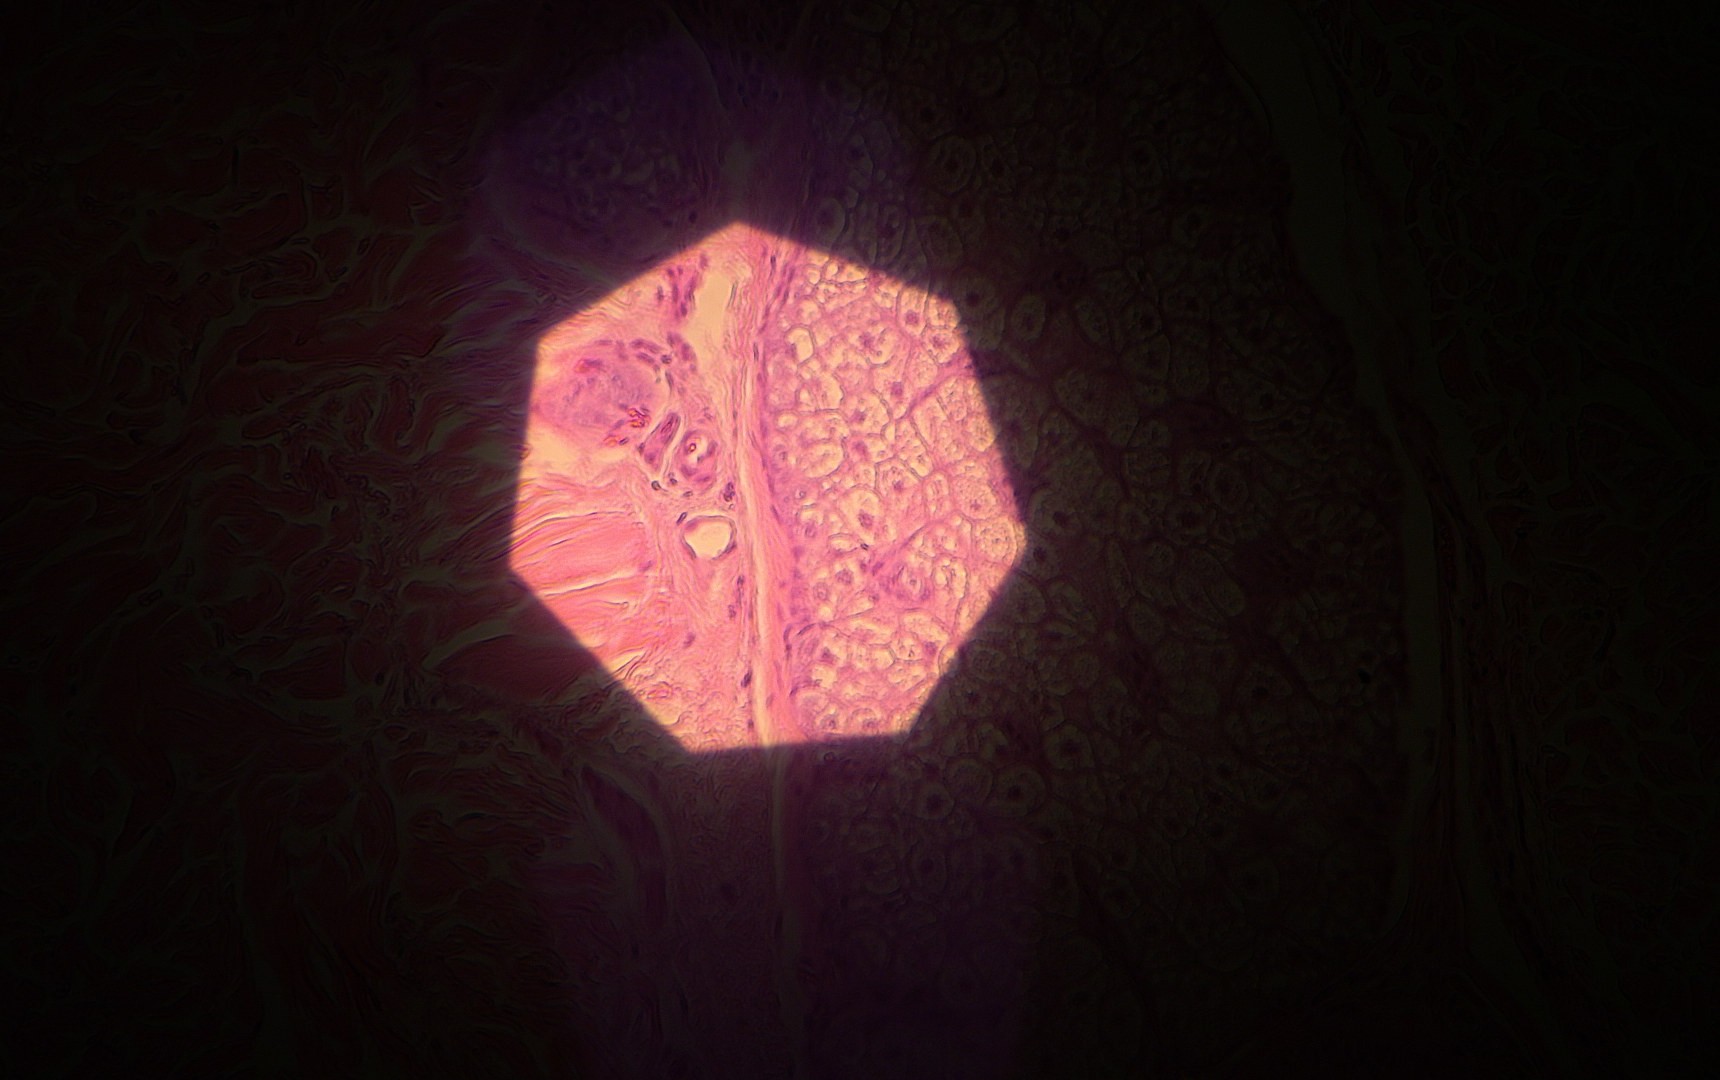
5. Open the diaphragm
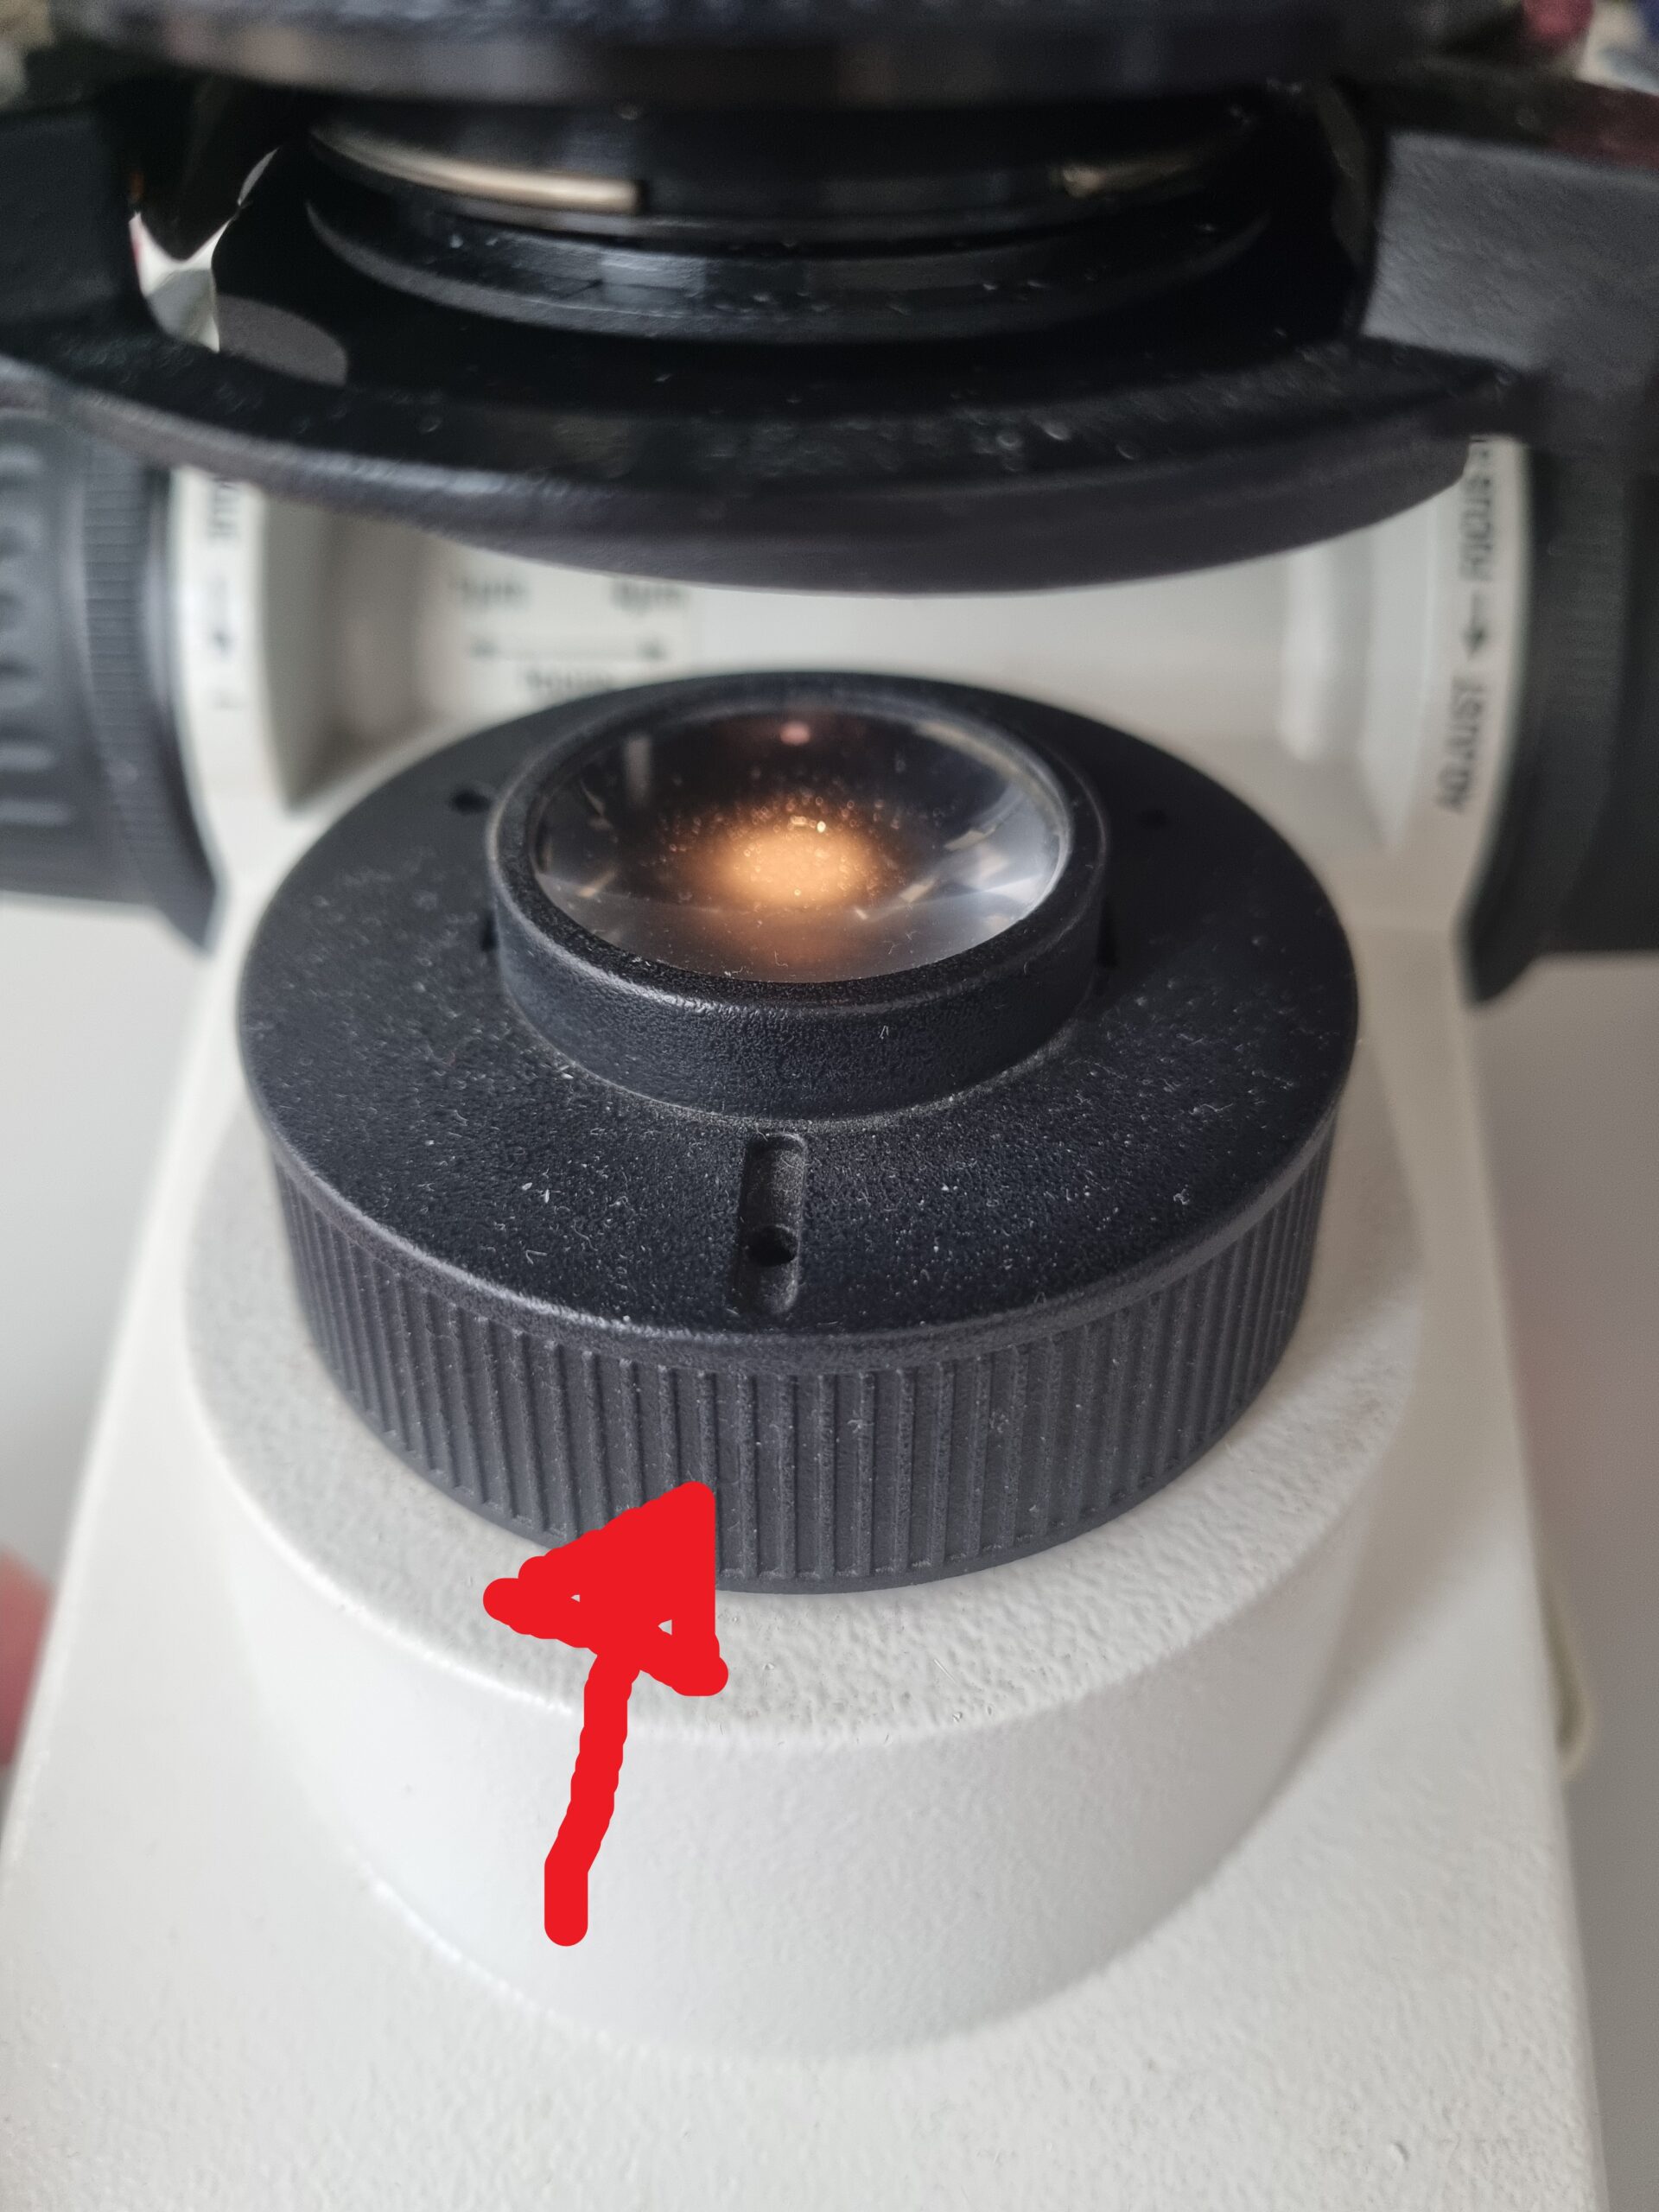
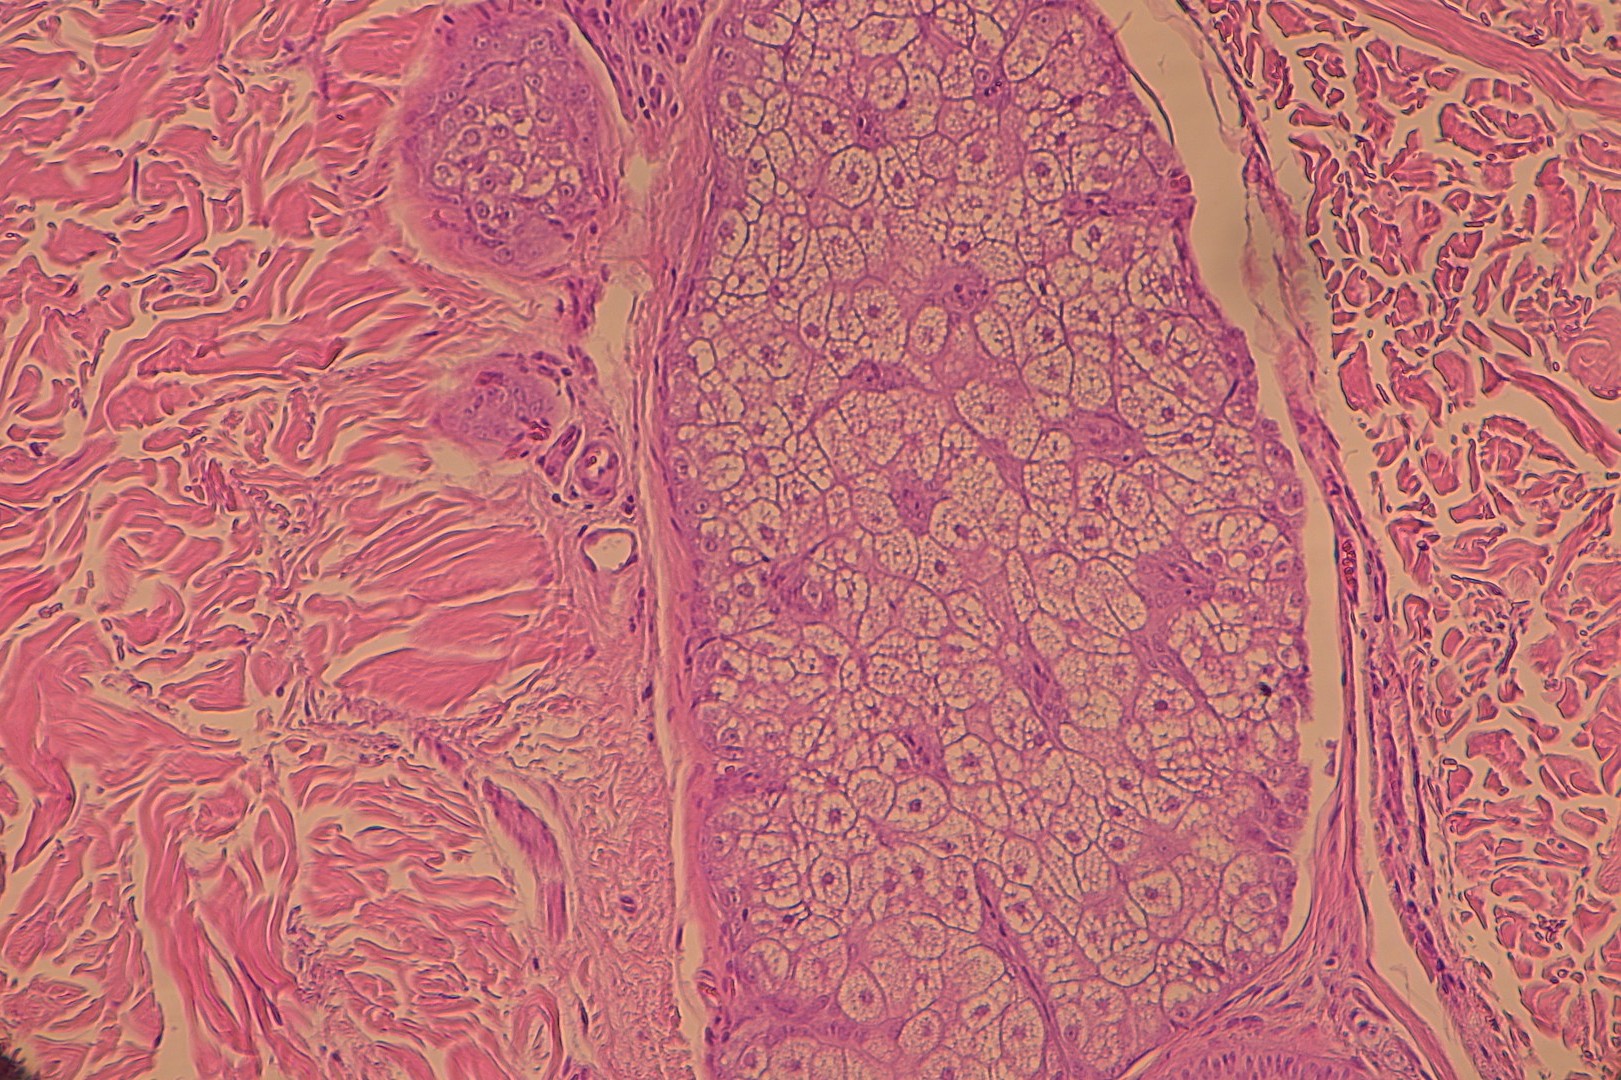
6. Adjust the aperture
Conclusion
Mastering Köhler illumination is not just a technical exercise; it is an essential skill for anyone serious about microscopy or pathology. By understanding how conjugate planes work, you gain total control over your microscope, ensuring that every image you capture is as clear and detailed as possible.